✦ AI Summary
Table of Content
▲- Why Does Old Marble Flooring Deteriorate Over Time?
- What Does a Marble Restoration Job Actually Include?
- Tools and Materials You Need
- Step-by-Step: How to Restore Old Marble Floors at Home
- DIY vs. Professional Marble Restoration: Cost Comparison
- 5 Shortcuts Contractors Use
- Marble Floor Maintenance: Do's and Don'ts
- Conclusion
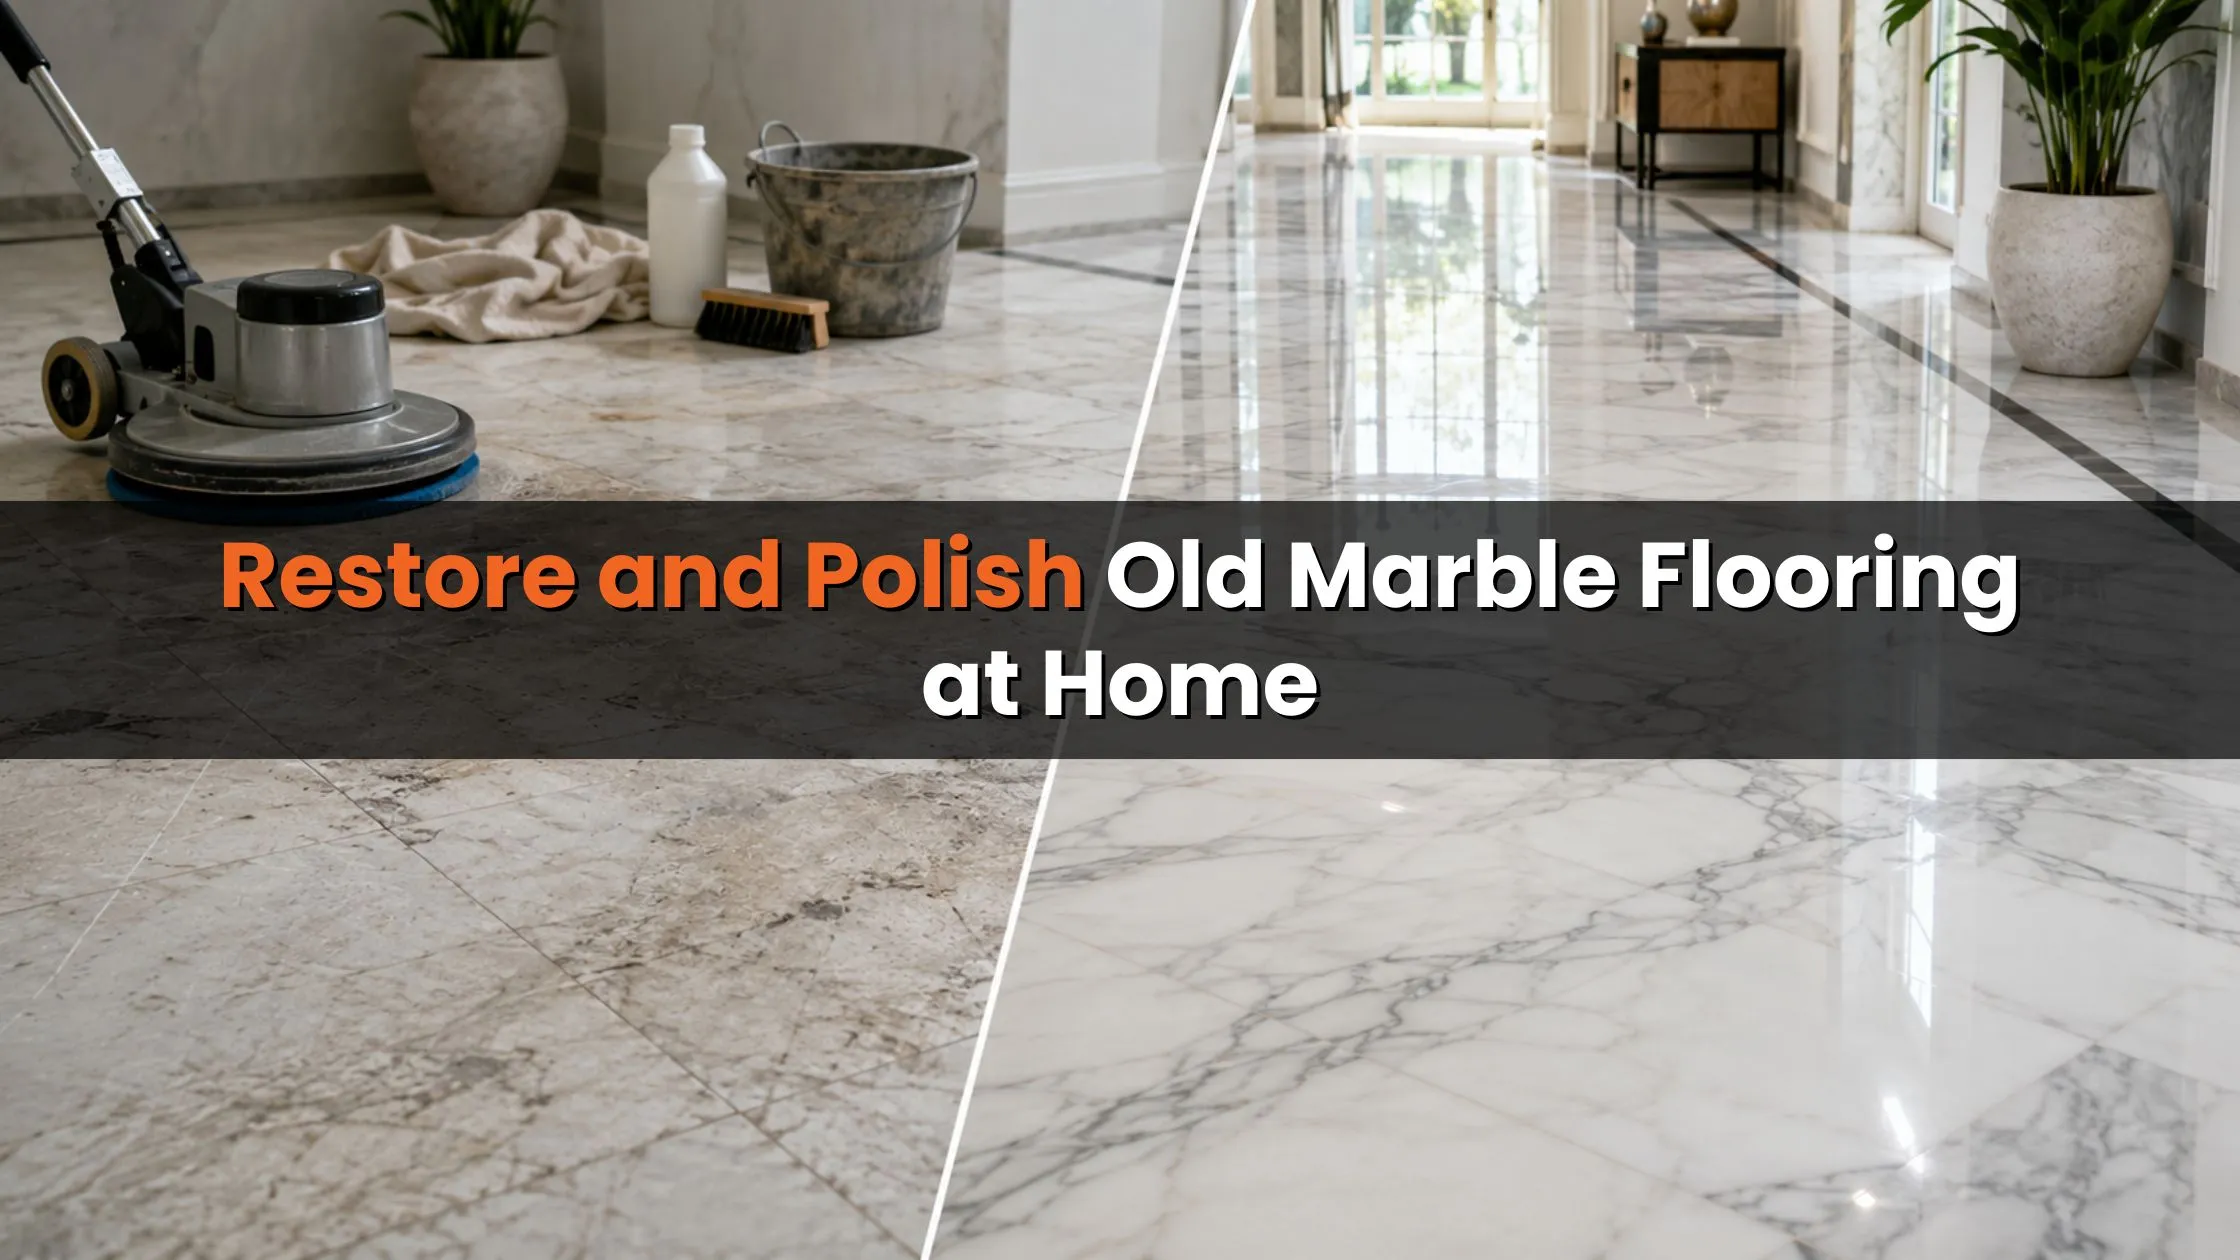
When your old marble flooring that used to make your place look luxurious, now just sits scratched stained and dull, like it forgot its own shine. Then the first stone polishing contractor who steps in, quotes you ₹80,000, without even showing one line of breakdown. You can’t really tell if that number matches the actual work, or if the materials got inflated, or maybe there’s like three layers of profit tucked on top of each other.
Here is the problem. Marble restoration contractors rely entirely on homeowners not knowing how the process actually works. Skipped honing steps, diluted polishing compounds, a sealer applied in one coat instead of two, these are not occasional oversights. They are standard shortcuts when the homeowner has no benchmark.
This guide provides exact methods for assessing marble damage and describes the entire restoration procedure together with its material costs and methods for achieving a mirror finish on old marble floors which you can either complete yourself or supervise the professional whom you will hire.
Why Does Old Marble Flooring Deteriorate Over Time?
The problem is not only age, but also marble. It is a calcium carbonate-based metamorphic stone, sort of naturally porous, a bit soft, and it reacts badly with acids. Most homeowners don’t realize it and, in a way, speed up the damage more than they think.
Here is what actually causes old marble flooring to lose its nice shine, you know that glossy look, it sort of slowly fades over time:
- Etching: When lemon juice, vinegar, cleaning sprays , or some spilled beverages make contact with acid, the surface gets permanently dulled, like right away, and then it stays that way
- Scratches: Little abrasive grit underfoot , or furniture dragged across it, leave fine lines , and sometimes even deep gouges in the softer stone, you know
- Staining: Oil, rust , organic matter, and hard water minerals seep into the porous surface, then they kinda stick there
- Efflorescence: Moisture slowly migrating upward through the slab can form white , chalky deposits on the top face
- Dullness from Wrong Cleaners: Phenyl compounds, bleach, and typical floor cleaners can strip marble’s natural surface polish over time, until it looks kind of lifeless
Understanding the root cause is the first step to fixing it correctly.
Also Read: How to Calculate House Painting Cost and Avoid Getting Cheated by Local Contractors
What Does a Marble Restoration Job Actually Include?
A legitimate marble restoration is never just "polishing." Every honest process involves multiple distinct stages:
- For surface cleaning and degreasing, use only pH-neutral cleaner, and never go for acidic products.
- When it comes to crack and chip repair use colour matched epoxy filler, then sand it flush after it cures, not before.
- For honing, progressive diamond pad grinding from rough to finer grit, so the earlier damage gets properly lifted.
- Next polishing, use a tin oxide or aluminium oxide compound to bring back that high gloss shine, like it’s new again.
- Stain removal: Targeted poultice treatment for deep stains that survive honing
- Sealing: Penetrating impregnating sealer applied in two coats for lasting protection
A contractor who offers "marble polishing" as a single-step service, skipping honing and sealing, is a contractor delivering a finish that will look dull again within six months.
Tools and Materials You Need
Tools: Wet/dry vacuum, microfibre mop, orbital floor polisher, soft-bristle scrub brush, plastic scraper, putty knife
Materials: pH-neutral marble cleaner, diamond honing pads (120 to 3000 grit), tin oxide polishing powder, colour-matched marble epoxy filler, penetrating marble sealer, distilled water.
Step-by-Step: How to Restore Old Marble Floors at Home
Step 1: Deep Clean the Surface First
Restoration on a dirty surface fails before it starts.
- Sweep with a microfibre pad, because that loose grit is kinda the main reason for surface scratches, you know
- Mop using a pH-neutral marble cleanser diluted in distilled water, bit by bit, working section by section
- Tackle stubborn buildup by scrubbing gently with just a soft bristle brush
- Dry the floor right after mopping, pooled water can get into marble pores quite fast
Pro Tip: Don’t use vinegar, bleach, baking soda, ammonia, or any all-purpose floor cleaner on marble. Even one tiny application can still lead to permanent acid etching that cant really be repaired except by professional honing.
Step 2: Repair Chips and Cracks
- Make it really clean and all dry for the damaged area before you put anything on it, because otherwise it wont stick right.
- Select a colour-matched marble epoxy filler, most kits include tints for mixing
- Apply with a plastic putty knife, overfilling slightly to allow for shrinkage
- Cure for 2–4 hours, then sand flush with 400–600 grit sandpaper
Step 3: Hone the Marble to Remove Scratches and Etch Marks
Honing uses progressive abrasive diamond pads to grind away the damaged layer and reveal fresh stone underneath. This step eliminates scratches, etch marks, and deep stains, but it also removes the shine temporarily.
|
Grit Level |
Recommended Use |
|---|---|
|
50–100 grit |
Deep scratches and heavy surface damage |
|
200–400 grit |
Moderate scratches and etch marks |
|
800 grit |
Light etching and surface levelling |
|
1500–3000 grit |
Pre-polish refinement |
Always hone wet, keep distilled water on the surface throughout. Work in overlapping circular passes with steady pressure. Never skip grit levels. Each stage removes marks left by the coarser pad before it.
Key Feature: After honing, the floor will appear uniformly matte. This is correct and expected. The shine is restored entirely in the polishing step that follows.
Step 4: Polish to Restore the Mirror Finish
Method 1: Polishing Powder (Best for Full-Floor DIY):
- Sprinkle tin oxide, or also aluminium oxide, polishing powder across about a 1 sq. m section
- Then add distilled water, a few drops at a time, until you get something like a toothpaste thick slurry
- Buff with a white polishing pad on an orbital polisher at medium speed
- Wipe any residue out clean with a damp microfibre cloth, then assess the reflection, it should look uniform after that, at least in most cases.
Method 2: Polishing compound, (best for spot touch ups):
Take a pre made marble polishing cream and put it onto a buffing pad then do circular passes. This works really well for those isolated etch spots, or any small, damaged section that you notice. Basically you just go slow, and keep it steady, so it comes out smooth and not patchy.
Step 5: Treat Deep Stains with a Marble Poultice
A few stains can somehow hang around after honing, and then they need a more targeted pull out using a marble poultice, that is a thick paste which kind of draws the staining agent out of the porous stone while it dries.
|
Stain Type |
Active Agent for Poultice |
|---|---|
|
Oil or cooking grease |
Acetone or mineral spirits |
|
Coffee, tea, or wine |
Hydrogen peroxide (12%) |
|
Rust (brown/orange patches) |
Commercial stone rust remover |
|
Mould or mildew |
Hydrogen peroxide (12%) |
|
Ink or permanent marker |
Acetone |
Mix the active agent with diatomaceous earth or white flour, till it becomes a thick paste, kind of like a heavy spread. Put it on the stain about ¼ inch thick, then cover the whole area with plastic wrap, tape the edges down good . Let it sit, for 24–48 hours. When it’s fully dry scrape it off, then rinse everything clean using distilled water.
Step 6: Seal the Marble Floor
Sealing is the single most important protective step in the entire process, and the one most commonly skipped by contractors looking to save time.
|
Sealer Type |
Appearance Effect |
Best For |
|---|---|---|
|
Penetrating / Impregnating |
No visible change |
Most polished marble floors |
|
Topical / Coating |
Adds surface sheen |
Honed or matte finishes |
|
Colour-Enhancing |
Deepens natural stone tone |
Darker marble varieties |
Apply sealer with a lint-free pad in sections. Allow 5–15 minutes of penetration time. Wipe away all excess before it dries, dried sealer on marble is difficult to remove. Apply a second coat after 1–2 hours and avoid foot traffic for 24–72 hours.
Pro Tip: Run the Water Bead Test every year, drop water on the sealed surface. If it beads, the seal is intact. If it absorbs within minutes, reseal immediately.
DIY vs. Professional Marble Restoration: Cost Comparison
|
Factor |
DIY Restoration |
Professional Restoration |
|---|---|---|
|
Approx. Cost |
₹5,000 – ₹13,000 |
₹50 – ₹150 per sq. ft. |
|
Equipment |
Rental or purchase |
Industrial-grade machines |
|
Time Required |
1–3 days |
Few hours with a crew |
|
Best Suited For |
Light to moderate damage |
Severe damage, antique marble |
|
Supervision Needed |
Self-directed |
High, verify each stage |
5 Shortcuts Contractors Use
1. Skipping the Honing Stage
They go straight to polishing compound over scratched marble. The surface looks temporarily bright but deteriorates within weeks.
2. Using the Wrong Grit Progression
Jumping, from 100 grit all the way to 3000 grit directly tends to leave deep sub-surface scratch lines in place, and then they come back again within months as the top polishing layer wears off.
3. Applying a Single Coat of Sealer
One coat penetrates only the surface layer. Two coats are required for lasting pore protection. Single-coat jobs require resealing within 6 months.
4. Using Acid-Based Cleaners Before Polishing
Acidic pre-cleaning sort of etches the very surface, the same one theyre about to polish, and it creates microscopic damages that shortens the finish lifespan significantly, like much more than people expect.
5. Diluting Polishing Compound to Stretch Material
Over-diluted compounds reduce the chemical reaction needed to form the calcium silicate bond that creates a true mirror finish on marble.
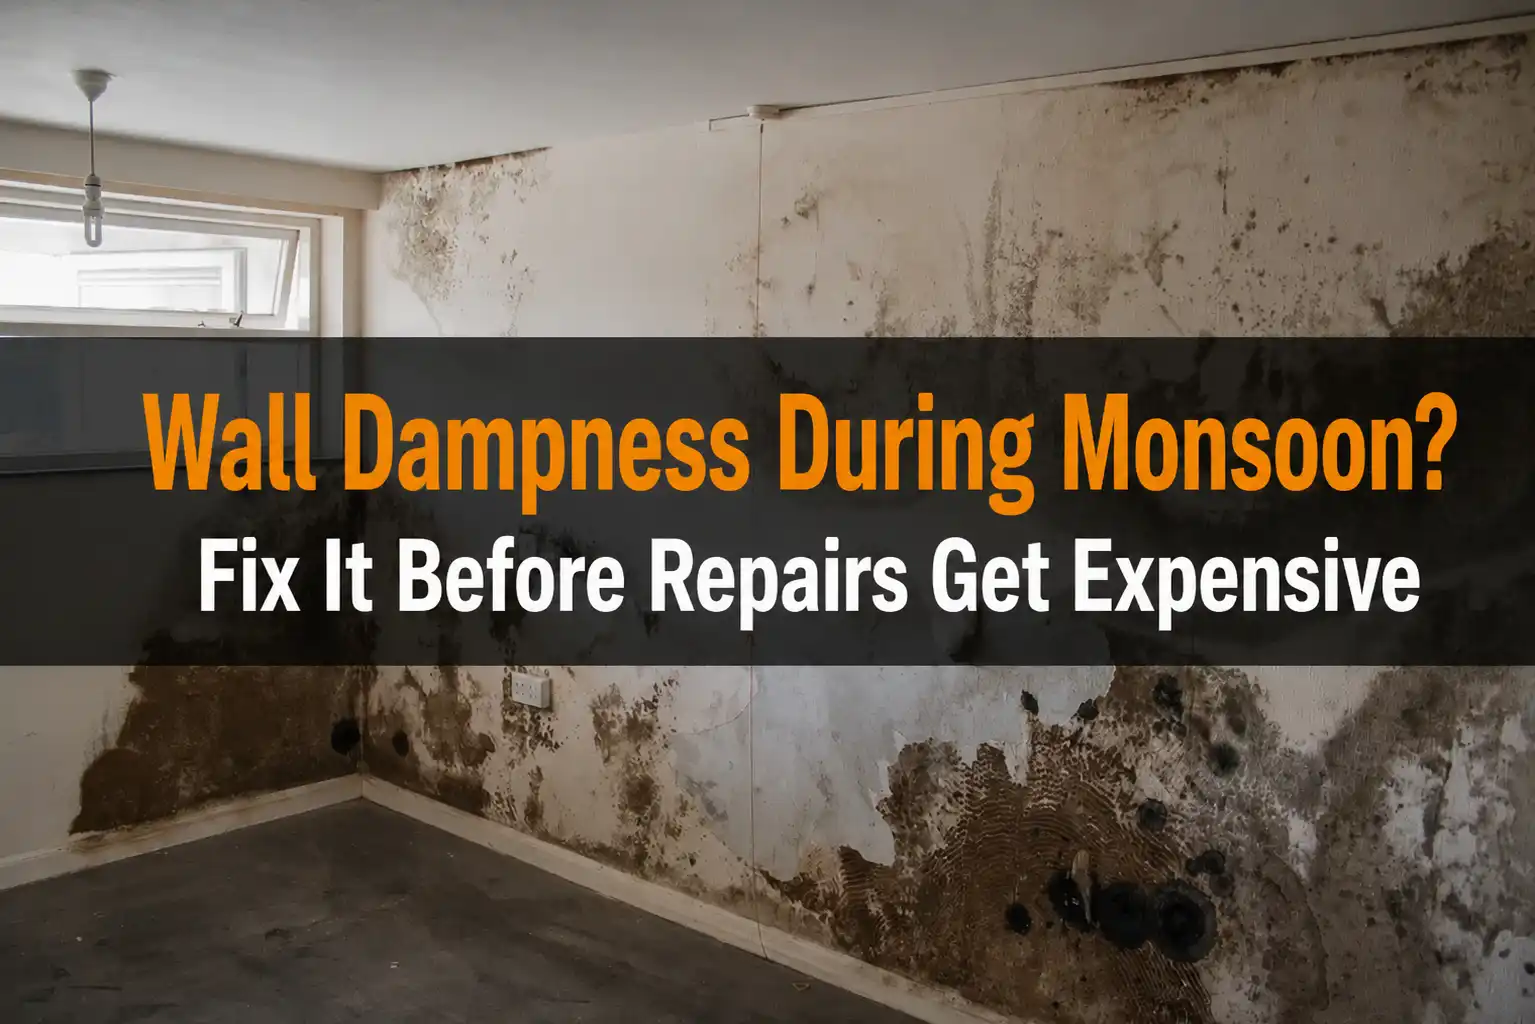
Also Read: Permanent Wall Seepage Solution: How to Stop Dampness and Blistering Paint
Marble Floor Maintenance: Do's and Don'ts
Do: Use pH-neutral stone cleaners only, Blot spills immediately without wiping, Place felt pads under all furniture, Reseal polished marble every 1–3 years, Use microfibre mop pads daily
Don't: Use vinegar, lemon juice, or acidic cleaners, Allow water to pool, Use steam mops, Drag furniture across the surface, Use abrasive scrubbing pads or steel wool
Conclusion
Old marble flooring isn’t really a renovation problem, more like a maintenance problem that got ignored long enough. The moment you actually get what the restoration process entails, and you see what each material really costs, plus which shortcuts to watch for, you stop being the kind of homeowner who just nods along at a quote.
Whether you restore your old marble flooring yourself or bring in a professional, you should do it with a written scope, materials that are verified, and payments tied to milestones. That’s the only way to end up with a finish that properly lasts.
 (1)_1784875521.webp)


Ans 1. Deep clean with a pH-neutral cleaner, repair chips with colour-matched epoxy filler, hone using diamond pads progressing from 120 to 3000 grit, polish with tin oxide powder, treat stubborn stains with a poultice, and seal with a penetrating impregnating sealer in two coats.
Ans 2. Yes. Light to moderate scratches respond well to DIY wet diamond honing, starting at 200–400 grit and progressing to 3000 grit before polishing. Deep gouges or widespread lippage typically require professional-grade grinding equipment.
Ans 3. Etch marks are caused by acid contact, lemon juice, vinegar, wine, coffee, or chemical cleaners, reacting with marble's calcium carbonate composition and leaving permanent dull, matte patches on the surface.
Ans 4. Tin oxide and aluminium oxide-based polishing powders are the most effective for restoring a true mirror finish. They work through a chemical-mechanical reaction with the calcium carbonate in marble, not just surface buffing.
Ans 5. Polished marble should be resealed every 1–3 years. Honed marble, being more porous, requires resealing every 6–12 months. Always run the water bead test annually, if water absorbs in under 4 minutes, reseal immediately.
Ans 6. No. Vinegar is acidic and permanently etches marble on contact. Even diluted vinegar causes irreversible dullness. Use only a pH-neutral cleaner specifically formulated for natural stone surfaces.
Ans 7. Honing uses abrasive diamond pads to remove physical damage, scratches, etch marks, and staining, leaving a matte surface. Polishing uses fine chemical compounds to restore the high-gloss reflective finish that honing removes.
Ans 8. Apply a marble poultice, absorbent powder mixed with a stain-specific active agent (acetone for oil, hydrogen peroxide for organic stains). Cover with plastic wrap, leave for 24–48 hours, scrape dry, and rinse thoroughly with distilled water.
Ans 9. DIY restoration costs approximately ₹5,000–₹13,000 for materials and equipment rental. Professional restoration ranges from ₹50–₹150 per sq. ft. depending on the severity of damage, floor area, and the city of the project.
Ans 10. In most cases, yes. Restoration costs a fraction of full replacement, preserves the original material, which in older homes is often high-quality natural stone, and when done correctly, produces results that are nearly indistinguishable from new marble.