✦ AI Summary
Table of Content
▲- What Is Wall Putty and why do we need it?
- What is Primer and how is it different from putty?
- Primer Before or After Putty? The Correct Sequence
- Wall Putty & Primer: Key Differences
- Wall Putty Price Per Bag in 2026
- Birla White Putty vs JK Putty
- How to Calculate Putty and Paint Material Requirements
- Painting Labor Rate Per Sq Ft in 2026
- Common Mistakes Homeowners Should Avoid
- Conclusion
Painting a house looks pretty simple, just purchase the paint, hire a painter, and then wait for your wall to be refreshed. But honestly the quality and how long it lasts depends a lot more on what happens before any paint ever touches the surface, than on painting itself. After talking with a painter or contractor, homeowners usually get a materials list with putty which is wall filler, a primer, paint, sandpaper and a bunch of other bits too.
Most homeowners don’t really have painting experience, so they usually just sign off on whatever is on that list. And in most cases they don’t even know if the materials are actually the right ones, or if the painter is taking small shortcuts like leaving out an essential step or using the faster approach when no one is watching.
Homeowners commonly ask if they should apply primer before or after they apply putty. Knowing the proper order will help you avoid poor workmanship, prevent wall damage, and reduce the cost of future re-painting. This guide will show you everything you need to know including: what products you need, the order in which to apply the products, how to calculate the amount of product you need, product brands that are worth considering, and how much painting labour should cost in 2026.
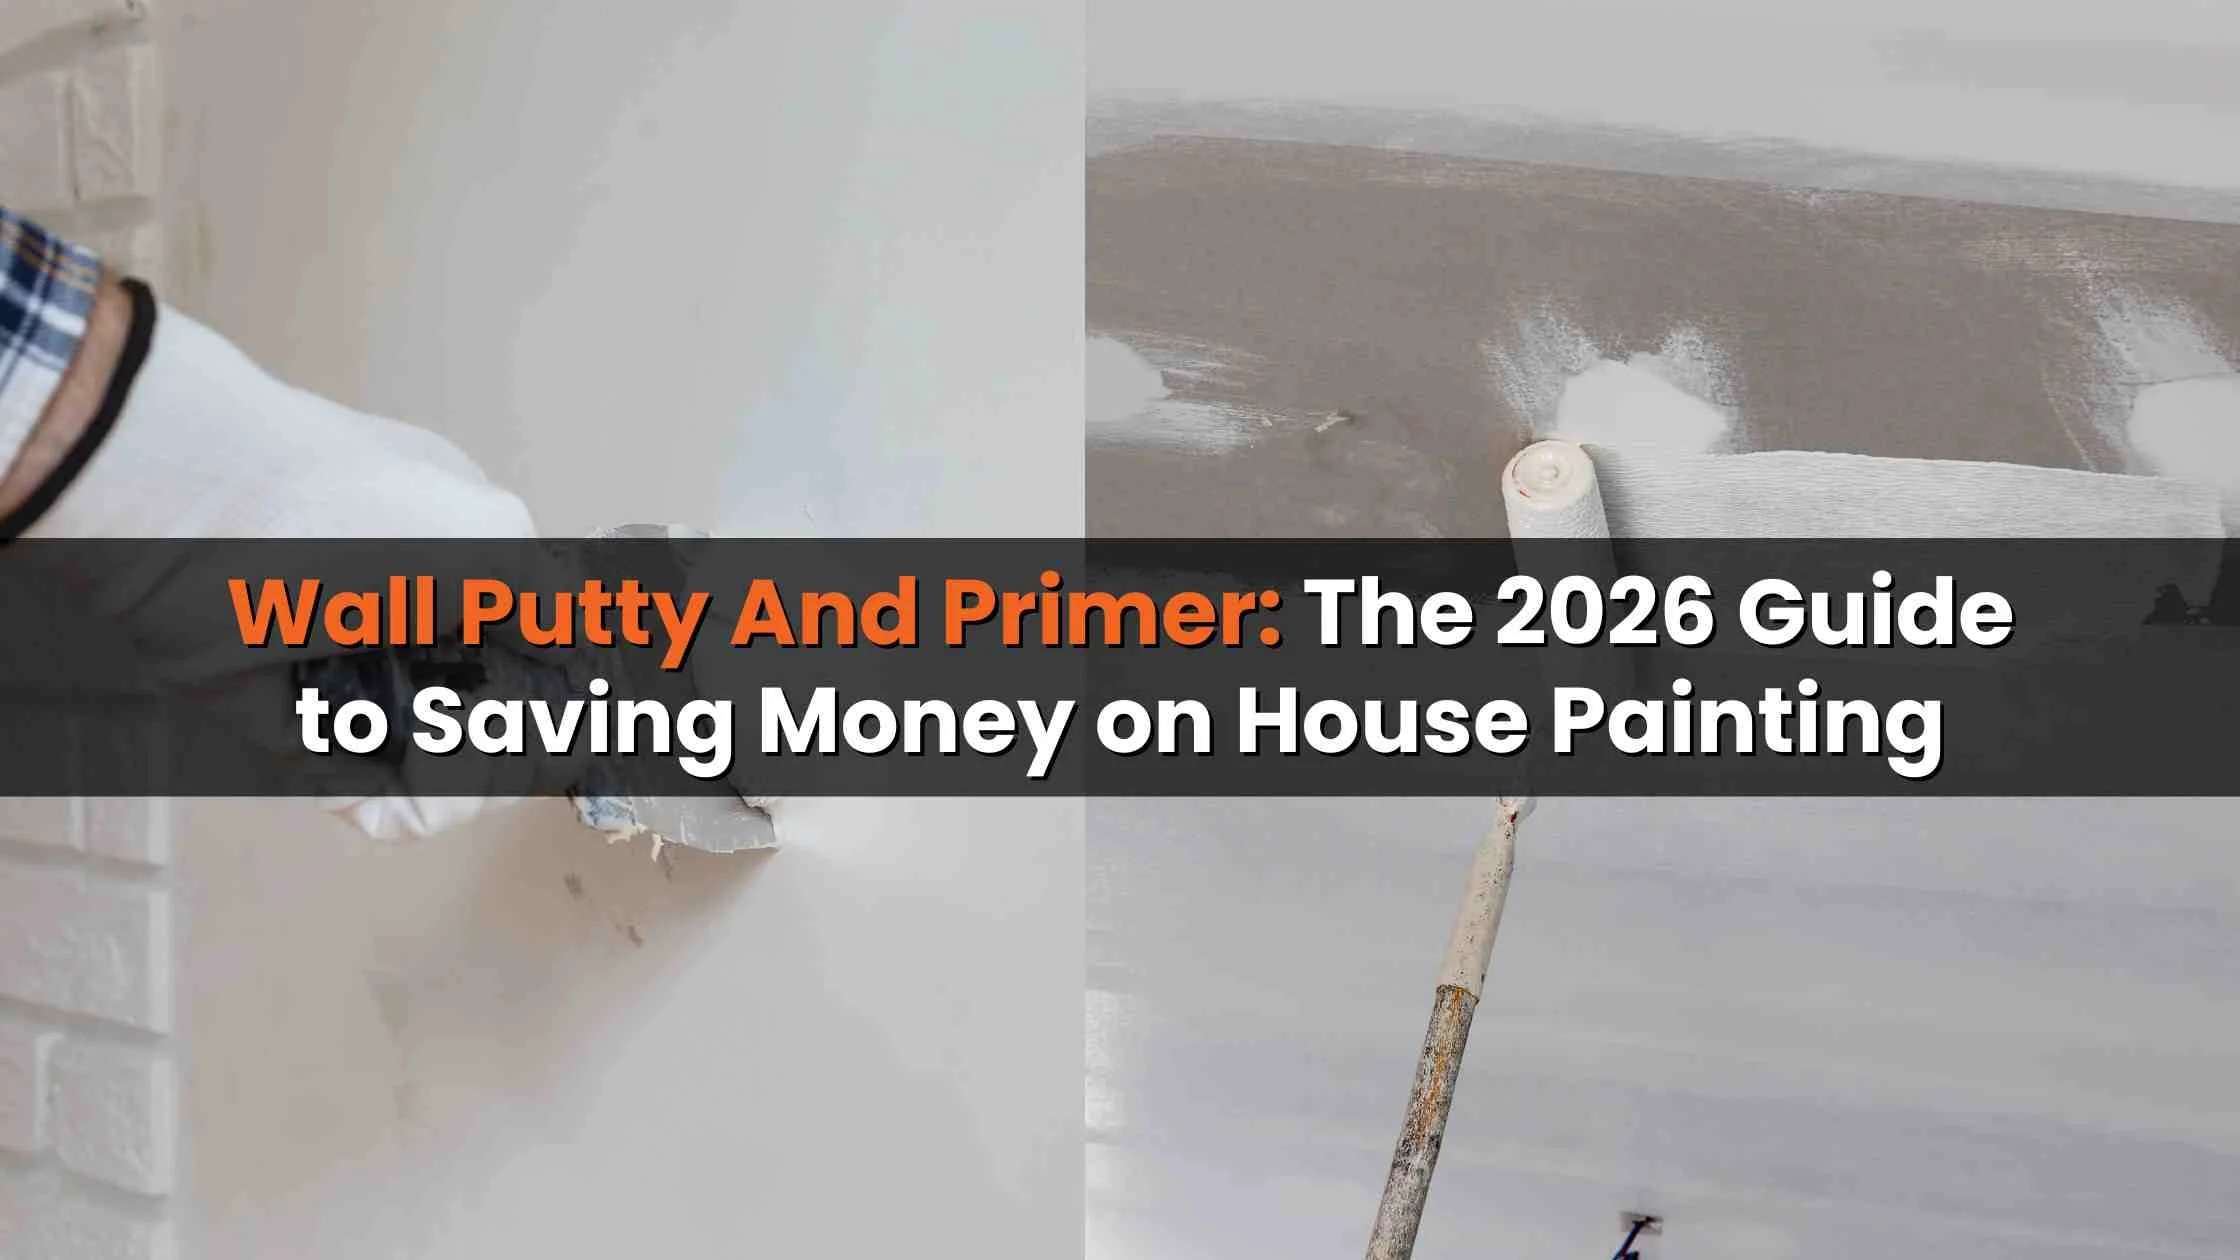
What Is Wall Putty and why do we need it?
Wall putty is made from white cement or acrylic depending on the specific product, applied to walls before the painting process. Its function is solely focused on the exterior; filling tiny cracks, concealing fine dents and establishing a consistently smooth foundation that gives the final paint application a truly professional appearance instead of just being painted.
Consider the effects of applying paint to a textured or irregular wall surface. The paint applies a layer, but it fails to conceal lumps, cracks, and textural inconsistencies that are still evident beneath it, especially in natural daylight or from different angles. Every flaw in the substrate becomes evident in the final surface.
Putty eliminates this by filling and levelling before paint ever touches the wall. The specific benefits that make wall putty a genuine necessity rather than a contractor upsell:
Benefits of Wall Putty
- Creates the smooth, uniform surface that professional paint finishes require without it, even premium paint looks mediocre
- Fix small cracks, surface flaws, and porous sections that could otherwise lead to vulnerabilities in the paint system.
- Creates a solid, consistent substrate for adhesion to the paint. This allows for a solid surface to be painted on without a combination of smooth and rough surfaces to bond to.
- Less paint will need to be used for maximum coverage; smooth, sealed surfaces will absorb paint evenly without needing additional coats due to varying absorption.
- Increases the moisture protection of the wall system, decreasing the chance of future damage caused by water.
For new construction, wall putty is considered an essential preparation step rather than an optional upgrade.
Also Read: Best Heat Reflective and Waterproof Roof Paints for Indian Terraces
What is Primer and how is it different from putty?
Primer and putty are completely different products that are used for different reasons. Homeowners must understand this difference, as many people think primer and putty are the same thing or that they can be used interchangeably. Primer is a type of coating that prepares a wall surface (or putty layer) to receive the final coat of paint by creating a bonding layer between the two surfaces.
The purpose of putty is to fix the physical surface of something, while the purpose of primer is to provide a chemical bond between the paint and the underlying surface, assuring that the paint will stick to the wall rather than just lying down on the surface and being subject to peeling, flaking, or uneven absorption throughout its life.
A wall primed before painting absorbs the paint uniformly, which creates consistent colour across the entire surface. An unprimed wall has variable porosity; some sections absorb more paint than others which produces visible patchiness particularly with deeper colours.
Benefits of Primer
- Creates the adhesion bond between surface and paint that prevents premature peeling and flaking
- Seals porous surfaces so paint absorbs uniformly rather than being soaked up unevenly
- Significantly reduces the amount of final paint required for full, even coverage
- Extends the paint's effective lifespan by giving it a stable foundation to bond with
- Provides a degree of moisture protection that the wall system retains throughout the paint's life
- Creates colour consistency paint colours appear truer and more vibrant over a primed surface than an unprimed one
Skipping primer may initially reduce costs, but it often leads to higher maintenance expenses later.
Primer Before or After Putty? The Correct Sequence
This is where many homeowners get confused. The recommended painting sequence for interior walls is:
Step 1: Surface Preparation
- Clean the wall surface
- Remove dust and loose particles
- Repair major cracks
Step 2: First Coat of Primer
The first primer coat seals the wall and creates a stable surface for putty application.
Step 3: Apply Wall Putty
Putty is applied over the primed surface to smoothen imperfections and create a uniform finish.
Step 4: Sanding
After drying, the putty is sanded to achieve a smooth texture.
Step 5: Second Coat of Primer
The second primer coat seals the putty layer and prepares the wall for paint.
Step 6: Paint Application
Apply two coats of interior paint for optimal coverage and durability.
The Ideal Painting Formula
Primer – Putty – Primer – Paint
Understanding this sequence helps homeowners ensure that contractors follow industry best practices and do not skip critical stages.
Wall Putty & Primer: Key Differences
|
Feature |
Wall Putty |
Primer |
|
Purpose |
Smoothens walls |
Improves paint bonding |
|
Application Stage |
Before paint |
Before paint and after putty |
|
Fills Cracks |
Yes |
No |
|
Improves Surface Finish |
High |
Moderate |
|
Reduces Paint Consumption |
Indirectly |
Directly |
|
Moisture Resistance |
Moderate |
Good |
|
Essential for New Walls |
Yes |
Yes |
|
Directly Visible |
No |
No |
Both products perform different functions and should not be considered substitutes for one another.
Wall Putty Price Per Bag in 2026
Putty prices vary based on brand, bag size, quality grade, and city. This table covers the most commonly specified brands for residential interior painting:
Approximate Market Prices
|
Brand |
Bag Size |
Average Price |
|
Birla White Putty |
40 kg |
₹850–₹1,100 |
|
JK Wall Putty |
40 kg |
₹800–₹1,050 |
|
Asian Paints Putty |
20 kg |
₹450–₹700 |
|
Berger Wall Putty |
40 kg |
₹850–₹1,100 |
Prices may vary across cities and dealer networks.
Birla White Putty vs JK Putty
This is the most common brand comparison for residential interior painting in India and both are solid products, so the choice comes down to project priorities rather than a clear winner.
Birla White Putty
Birla White Wall Putty feels like the premium go to option for most interior painting specifications. Its consistency, level of whiteness, and smooth finish quality tend to be a bit better than the budget alternatives, and difference shows up in the final paint look, especially when you go for lighter or more neutral colour shades where surface evenness is easy to notice. The brand reputation is pretty well established, plus contractor familiarity usually means the application quality stays steady.
Pros
- Excellent smoothness
- Strong brand reputation
- Good whiteness
- Suitable for premium finishes
Cons
- Slightly higher price
JK Wall Putty
JK Wall Putty sits at a competitive price point with good coverage and reliable durability. For projects where the budget is the primary constraint and the surface being painted is reasonably good to begin with, JK delivers acceptable quality without the Birla White premium. For walls with more significant imperfections or premium colour specifications, the extra spend on Birla White is usually justified.
Pros
- Competitive pricing
- Good coverage
- Reliable durability
Cons
- Finish quality may vary depending on the application
Which One Should You Choose?
For premium interior painting, Birla White is often preferred. For budget-conscious projects, JK Putty offers good value for money without significant compromises.
Also Read: How to Calculate House Painting Cost and Avoid Getting Cheated by Local Contractors
How to Calculate Putty and Paint Material Requirements
One of the biggest concerns during painting projects is determining how much material is actually required. Knowing how to calculate your material requirements independently is the best protection against both over-purchasing and contractor quantity inflation. The calculation is simpler than most homeowners assume.
Step 1: Calculate Wall Area
Formula:
Wall Area = Length × Height
Add the area of all walls.
Step 2: Deduct Openings
Subtract:
- Doors
- Windows
- Ventilators
Step 3: Calculate Putty Requirement
A 40 kg bag of wall putty typically covers around 450–500 sq ft with one coat.
Formula
Total Wall Area ÷ Coverage Per Bag = Number of Putty Bags
Example
Wall area: 2,000 sq ft
Coverage per bag: 500 sq ft
2,000 ÷ 500 = 4 bags
Add 10% extra for wastage.
Final requirement: Approximately 4–5 bags.
This simple formula prevents over-purchasing and helps homeowners verify contractor estimates.
Painting Labor Rate Per Sq Ft in 2026
Painting labour charges vary depending on city, wall condition, and paint quality.
Average Labour Rates
|
Type of Work |
Labour Cost Per Sq Ft |
|
Basic Repainting |
₹8–₹15 |
|
Standard Interior Painting |
₹12–₹25 |
|
Premium Interior Painting |
₹20–₹40 |
|
Texture Painting |
₹50–₹150 |
Metro cities generally command higher labour rates compared to Tier 2 and Tier 3 locations.
Common Mistakes Homeowners Should Avoid
Approving the material list without understanding it. When a contractor hands you a list of materials, each item should be verified against the painting sequence primer for the first coat, putty, primer for the second coat, and paint. Materials listed without quantity justification should be queried.
Allowing contractors to skip the second primer coat. This is the most common shortcut taken on residential painting projects because it saves time and material cost that the contractor pockets. The result shows up as uneven paint absorption, patchy appearance under good lighting, and significantly reduced paint life. Confirm this step is included before work begins.
Applying paint directly on the putty without a second primer. Paint applied directly over sanded putty absorbs unevenly and often shows the putty texture through the final coat particularly visible with sheen paints and deeper colours.
Buying materials without calculating requirements first. A simple area calculation prevents over-purchasing by 20 to 30 percent which is a significant waste on larger projects.
Choosing materials based on price alone. The difference in cost between budget putty and quality putty on a 2,000 sq ft project is typically ₹2,000 to ₹4,000. The difference in finish quality and paint durability over 5 to 7 years is considerably larger. False economies in preparation materials create real costs in repainting frequency.
Conclusion
In contrast to wall putty and primer, both play different roles when preparing a home interior for painting, putty smooths and repairs the wall, while primer helps to adhere to the surface and provide a bond between the surface and paint. The most common mistake made by homeowners is asking whether putty will replace primer or vice versa. The answer is that both products are needed to result in a durable finish.
It is important to follow the professional painting rule of thumb; primer – putty – primer – paint when going through your contractor's list of materials before moving forward with an agreement. Knowing this order will allow you to save money on materials and always get the best prices by comparing putty brands, accurately calculating your painting material needs, and knowing the average labor cost per square foot for professional painting.


Ans 1. Wall putty smoothens walls and fills cracks while primer creates a bonding layer that helps paint adhere properly to the surface.
Ans 2. The correct sequence is Primer Putty Primer Paint. The first primer coat prepares the wall while the second primer coat seals the putty before painting.
Ans 3. Yes. Wall putty helps create a smooth surface, hides imperfections, improves paint finish, and increases paint durability.
Ans 4. No. Painting directly on putty can cause uneven paint absorption, patchy appearance, and reduced paint life.
Ans 5. A 40 kg bag of wall putty generally costs between ₹800 and ₹1,100 depending on the brand, location, and dealer pricing.
Ans 6. Birla White Putty is preferred for premium finishes and smoothness, while JK Putty offers good value and reliable performance at a lower price point.
Ans 7. Divide the total wall area by the coverage area of one putty bag. A 40 kg bag typically covers around 450 to 500 sq ft per coat.
Ans 8. For 2000 sq ft of wall area, approximately 4 to 5 bags of 40 kg putty may be required depending on wall condition and wastage.
Ans 9. The second primer coat seals the putty layer, improves paint adhesion, ensures uniform coverage, and increases paint durability.
Ans 10. Common mistakes include skipping primer, applying paint directly on putty, buying excess materials, and allowing contractors to skip essential painting steps.